As a beauty blogger, knowing how to produce makeup swatches is essential!
The process is more than just swiping some eyeshadow on the back of your hand. You need to know the right techniques if you want a quality makeup swatch photo.
In today’s post, I’m sharing my tips and tricks on how to create an accurate and visually pleasing makeup swatch photo.
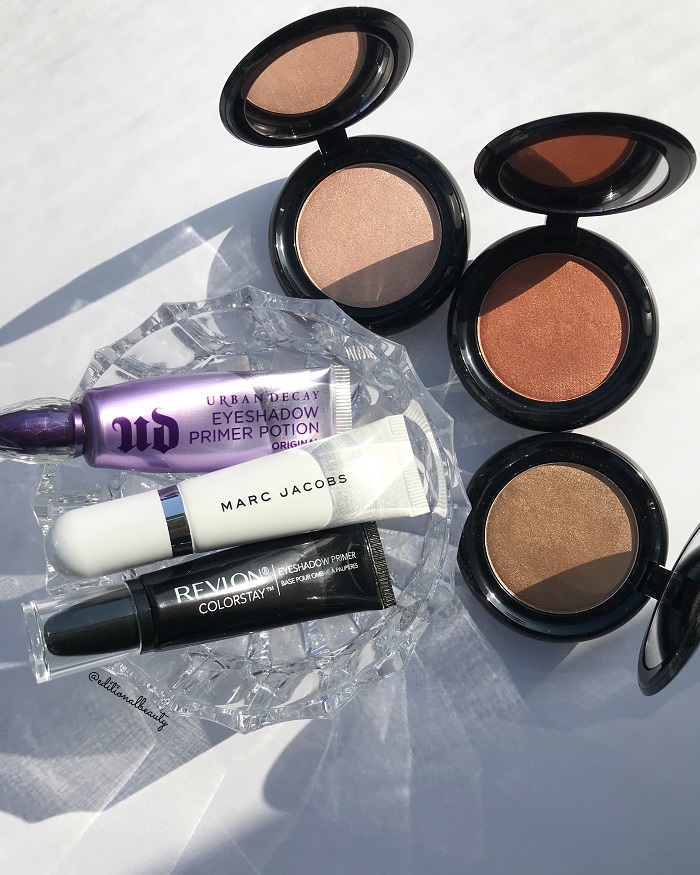
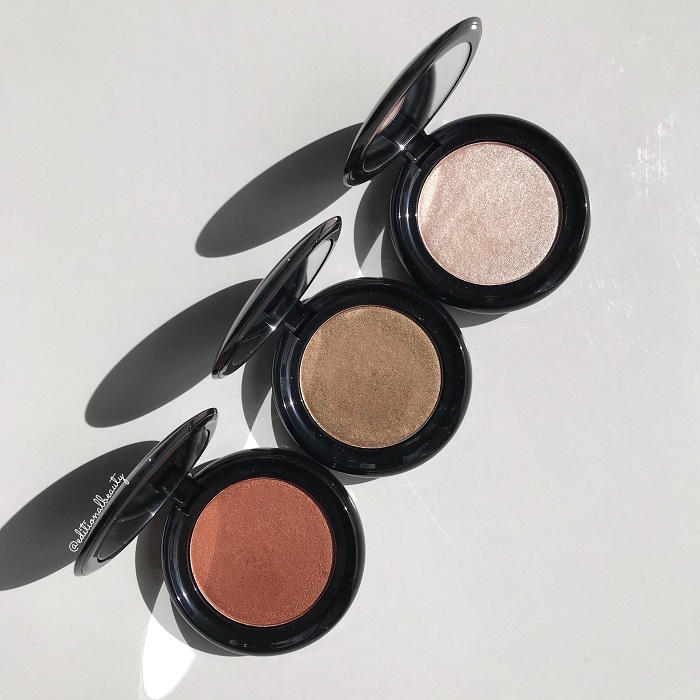
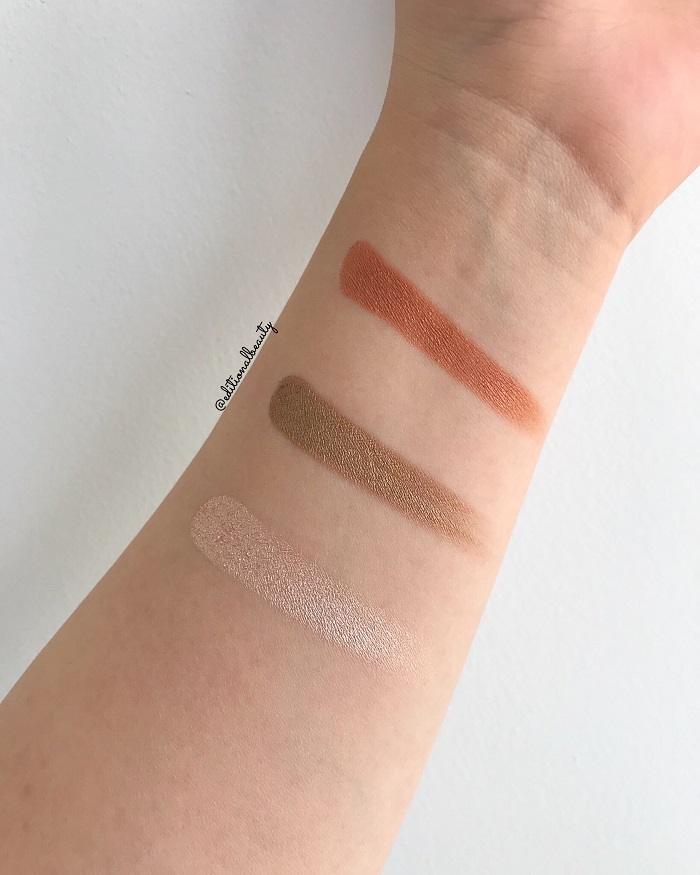
The products used in this post are the Marc Jacobs O!mega Shadow Gel Powder Eyeshadows (review here).
Swatching Surface
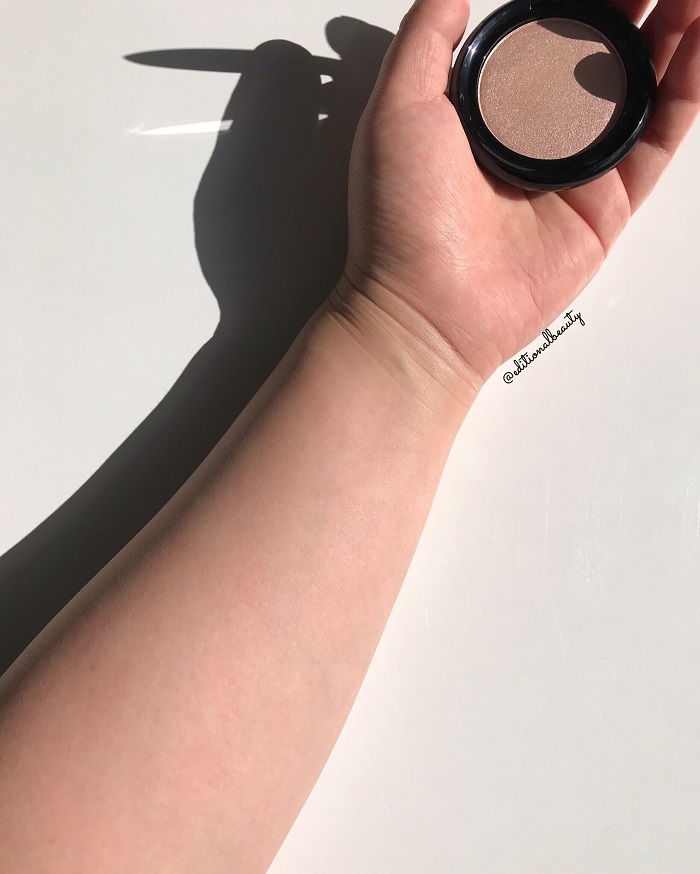
The skin on the inside forearms is the best area for makeup swatches. I’m referring to the area between the wrist and the elbow crook.
It’s usually not exposed to the sun, so it’s one of the smoothest areas on your body.
The location is easy to reach in terms of applying the makeup and taking the photograph.
The area is also large enough to do several different makeup swatches together.
Prep the Surface
In order to prep your swatching arm, make sure to give the skin a gentle clean. A gentle soap or body wash will do.
If you have dry skin, you can lightly moisturise the area, but don’t use anything too heavy or oily.
The prepping steps will make sure you have the smoothest possible canvas to work with.
Prime the Surface
When it comes to applying makeup to my face, I always layer the products over primer. Hence it only makes sense to swatch them with a primer as well.
Here is a selection of primers that I use:
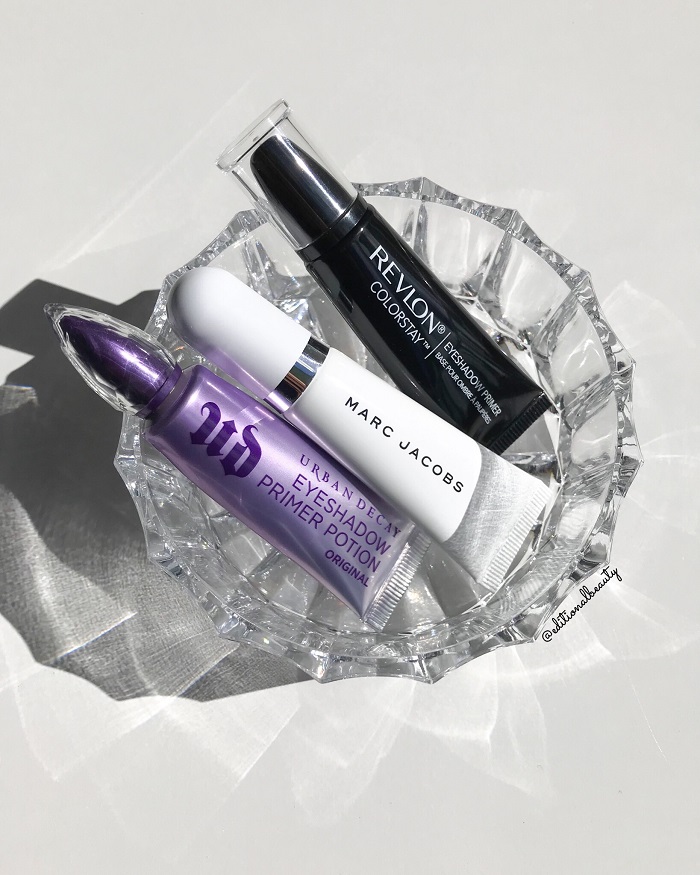
With a primer in place, you get much better color payoff and smoother application.
Stencil or Free hand
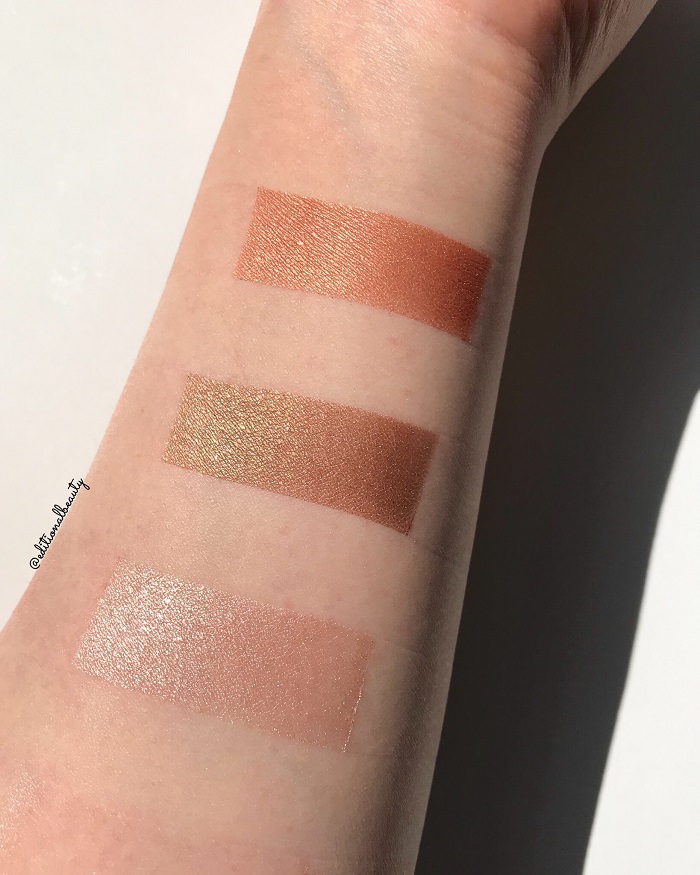
I used to be an avid fan of the stencilled swatches, but these days I’m more drawn to free hand makeup swatches. So I’ve decided to show you both methods, and you can see whichever one suits your style.
The best makeup swatch stencil is the humble masking tape.
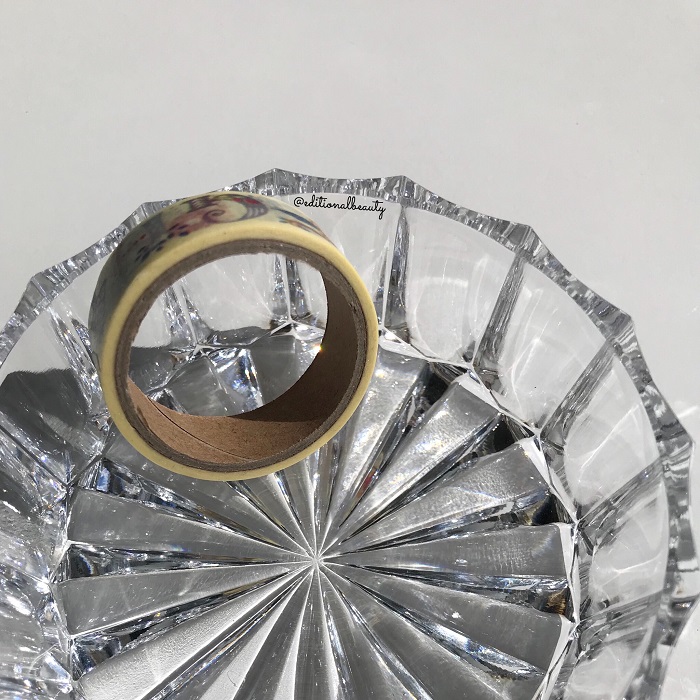
Add stripes of masking tape across the arm:
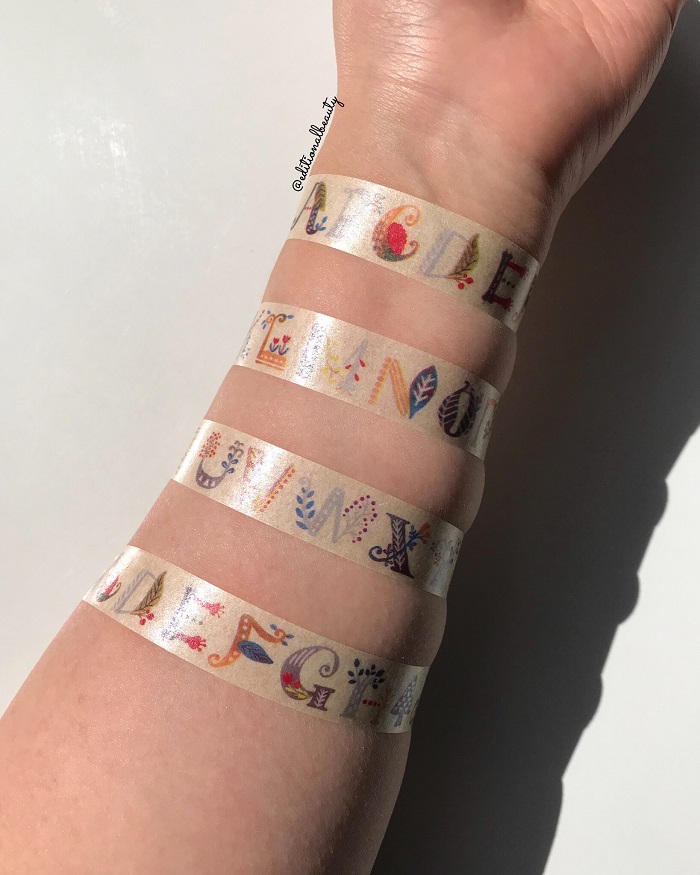
Add more on the side if you want a neat rectangular shape:
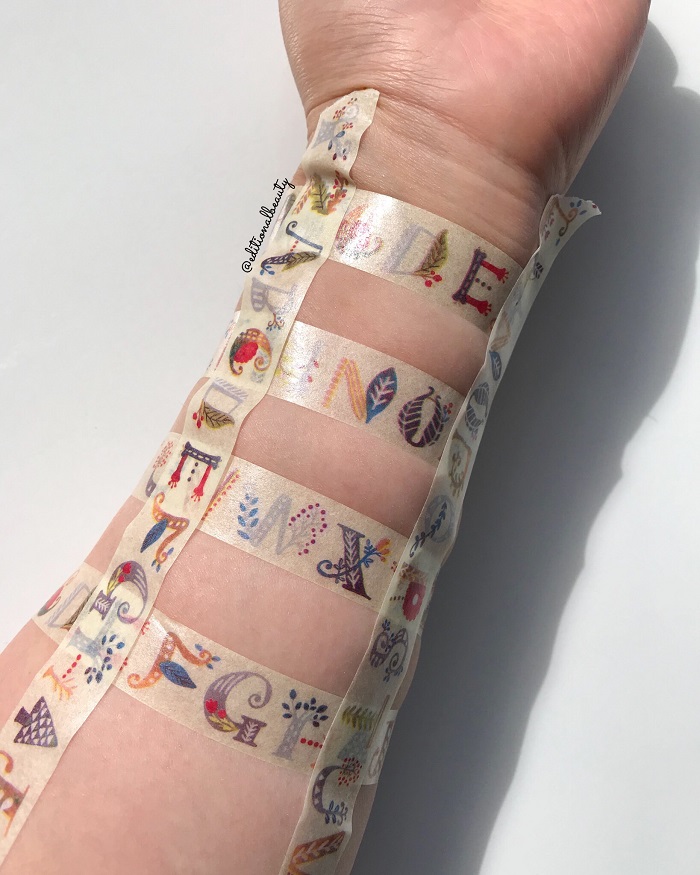
Swipe the products inside the taped areas:
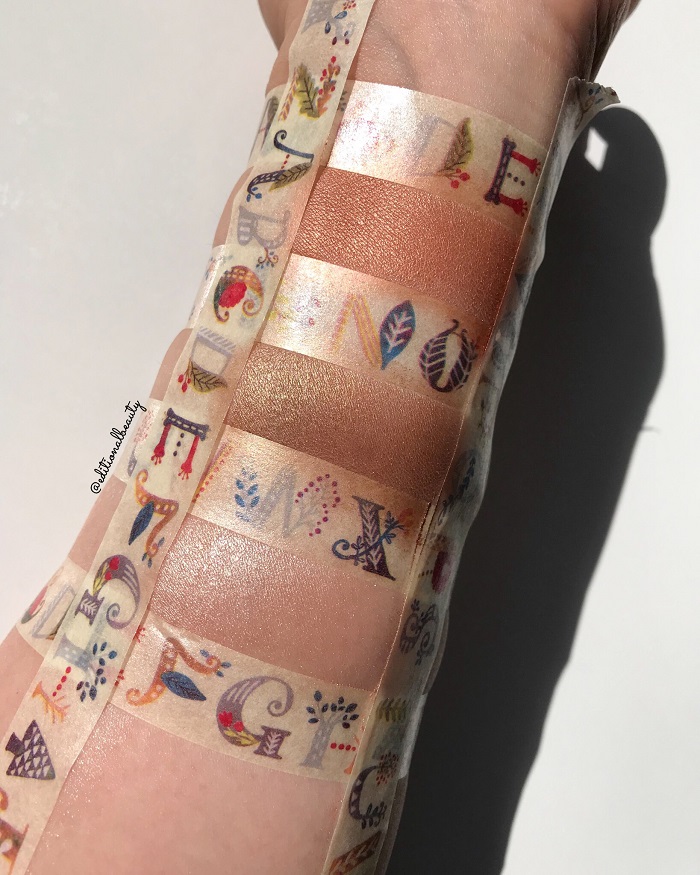
Carefully tear off the tape:
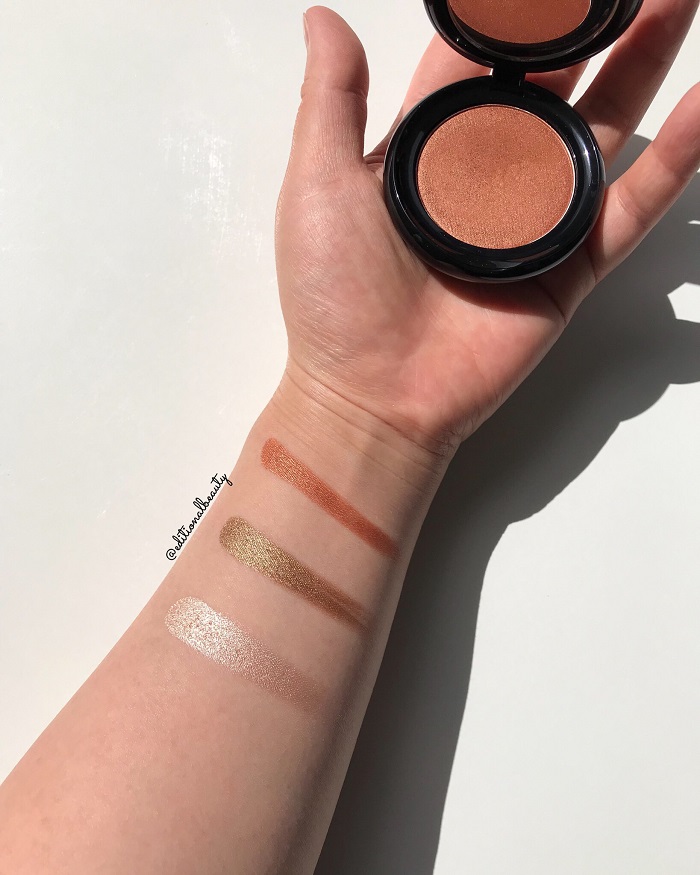
To do a freehand makeup swatch, make sure your swatching forearm is resting on a stable surface. Then you slowly apply the product with your other hand.

Background
For my makeup swatches, I usually use a white cardboard or a white wall as background to keep things consistent.
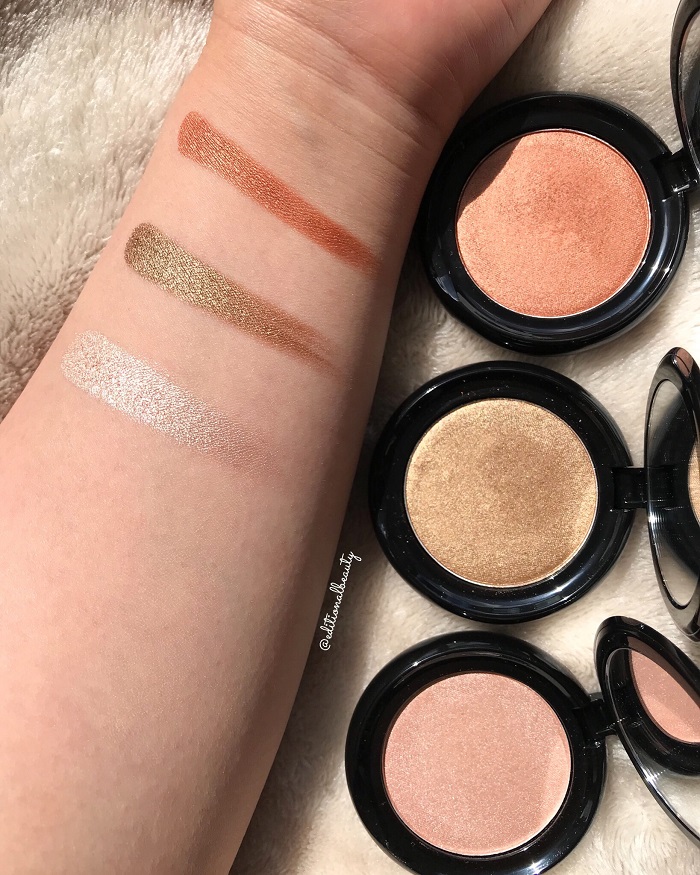
To make the photo more aesthetically interesting, there is also the option of using fabrics or blankets.
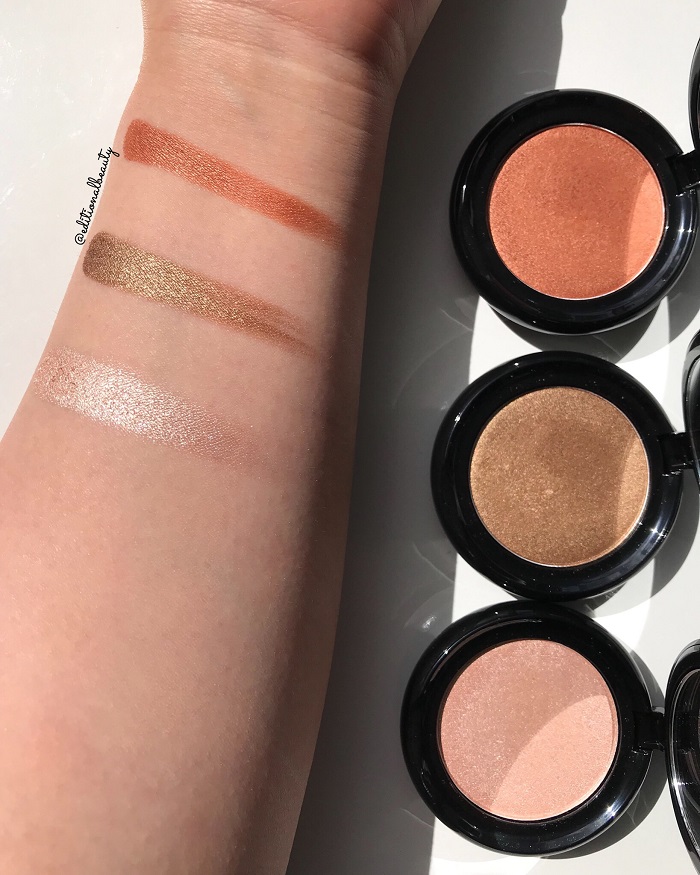
Some bloggers also prefer to have the actual products placed in the same photo as the swatches. Here are some examples:
Lighting
There are a couple of different options for lighting. Personally I love natural light, but I have a softbox light as a backup option.
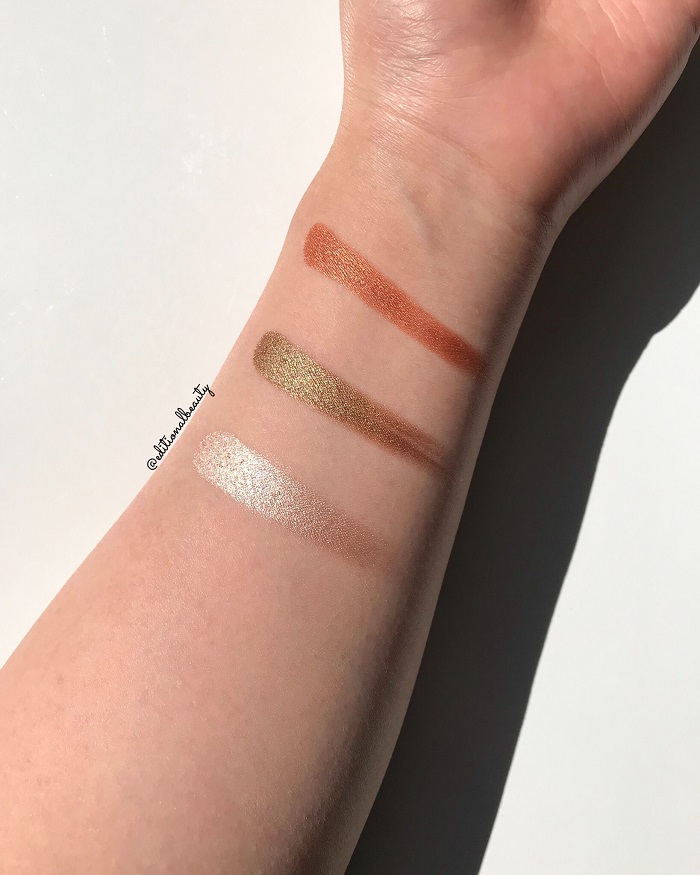
Keep in mind that like all colored objects, makeup can look different under different lights. Hence for my blog posts, I try to do one photo under indoor light, and another one under direct sunlight.
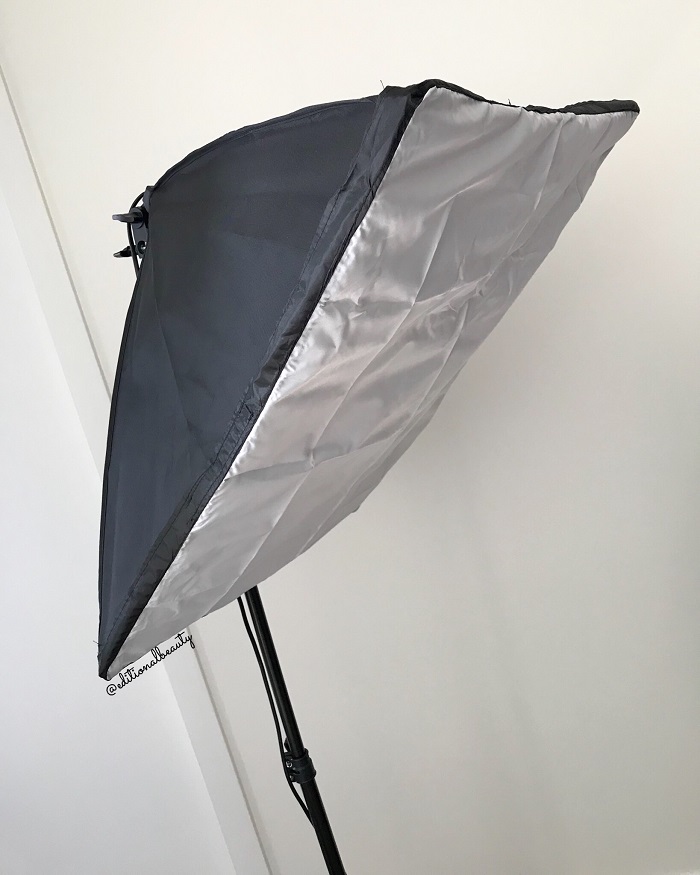
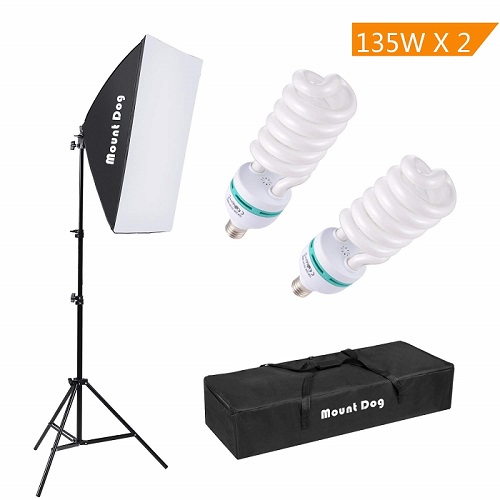
Here is a picture of the softbox setup. I mostly use this for Instagram video content, but it’s a good backup if I need lighting for makeup swatches, and there is no natural light available.
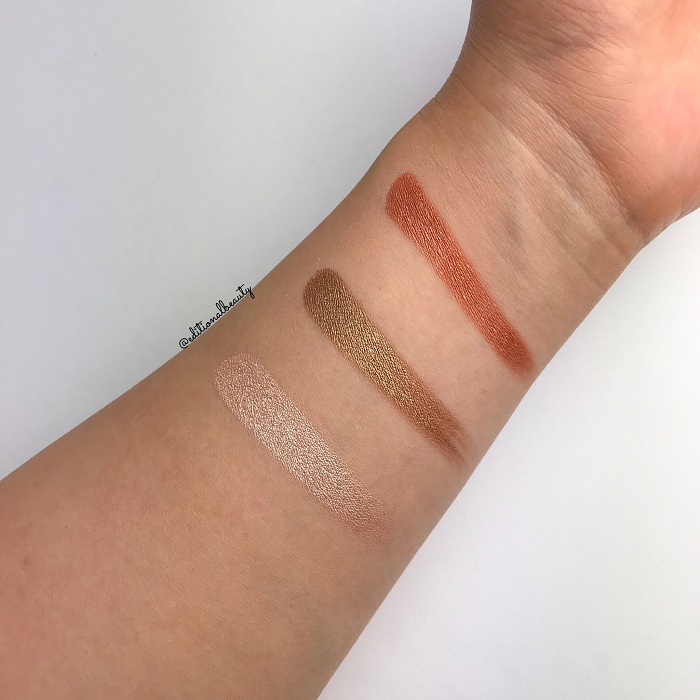
Here is what the swatches look like under the softbox light:
This is just a basic softbox setup, available from Amazon:
Swatching in Bulk/Batch
There are times you may need to photograph multiple makeup swatches. You may have a vacation coming up, and want to prepare a whole batch of makeup swatches for the blog prior to the vacation.
Under these circumstances, remember to always swatch according to the products’ color payoff, and go from lightest to darkest.
Basically if you have anything that may cause staining (eg: a vampy shade lipstick), you don’t want to swatch it first and stain the canvas, as you won’t be able to do more swatches on top of the stain.
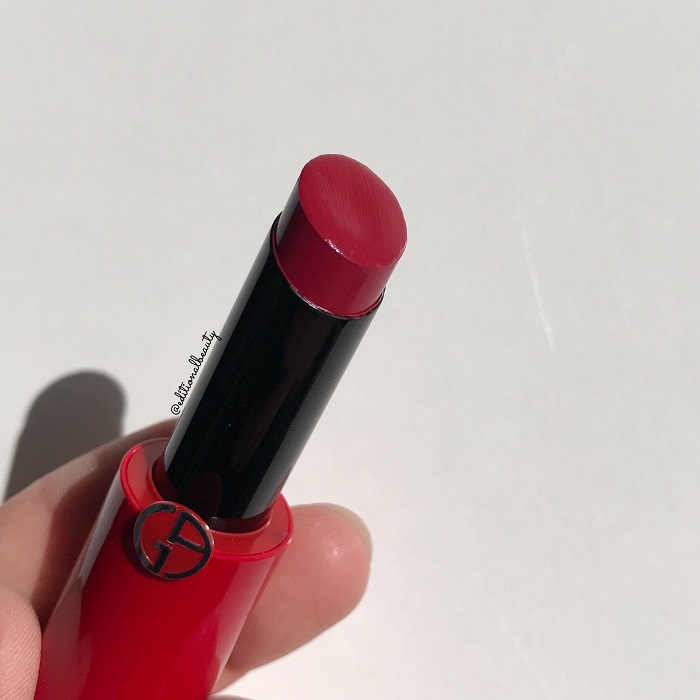
For example, here is the Giorgio Armani Ecstasy Shine Lipcolor in Icon, a beautiful berry red that leaves a stain on the lips, which also means it will stain the arm once swatched.
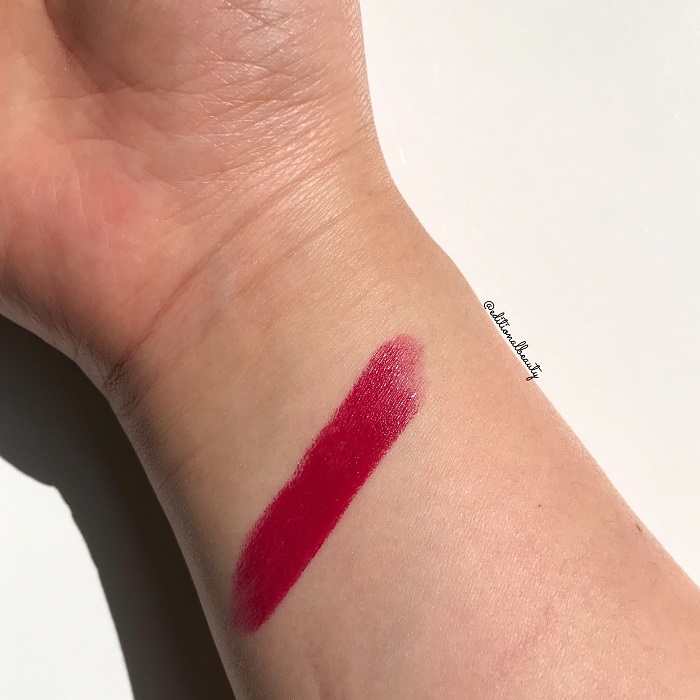
Here is the lipstick swatch:
And here is the stain I was referring to. Even with makeup remover, it’s difficult to completely remove. I normally scrub it off in the shower:
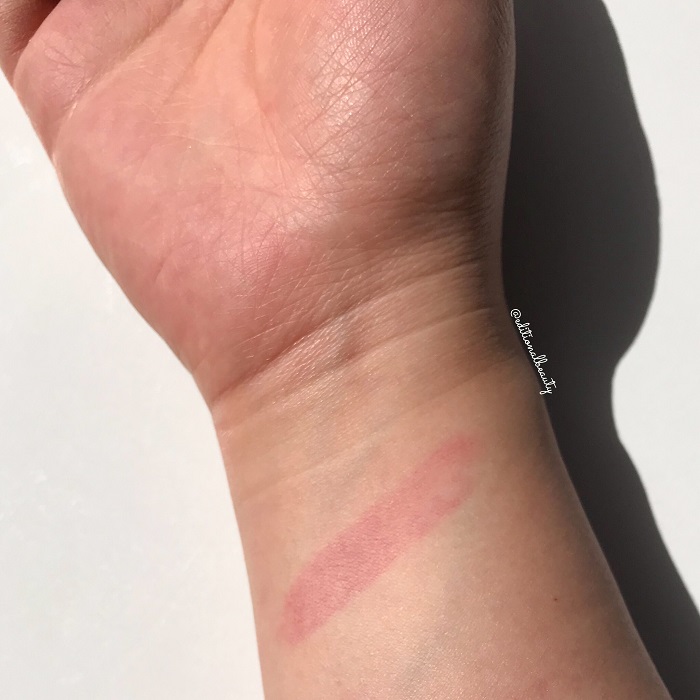
Here is the take away: if you expect the product to create a stain, make sure to swatch it last.
Have Fun Swatching!
OK, that was a lot of tips and tricks, jammed packed into one blog post. Hope you enjoyed reading and find the post useful.
Please feel free to leave a comment if you have any questions!
Subscribe to the blog via email, unsubscribe anytime:
